Is it time to move?
It's been a long time since I have posted anything that would come close to being a tutorial.
But today while I was sorting and editing some images from last week I came across a perfect example of a skill I learnt many years ago that I could pass on. So this short tutorial is about being situationally aware and recognising the possibility of improving on the shots you already have of your subject.
All serious bird photographers are in the pursuit of creating a more attractive image, that in turn showcases your subject by achieving the best possible composition in any given situation. So ...is it time to move?
Walk-up style of wildlife photography
How it works for me
The safe shot
A safe shot would be an image of the bird that I know will meet my standards.
My criteria is...
1. The bird must be close enough to me in order for the camera to create an image that will contain fine sharp and well defined feather detail.
2. The birds posture and position must be such that the head is clear of obstructions especially the eyes.
3. Preferably the legs and feet of the subject are clearly visible in the frame.
4. Wherever possible I want a degree of separation between the subject and the background, isolating the subject. This helps the bird stand out better, unless the story I'm trying to tell is one of the birds sneakiness as it stealthily hunts for insects in the thick undergrowth.
5. Once I am convinced I have a good representative shot of my subject I start to think about repositioning myself, giving myself the chance on improving on what I already have.
Improvement is the driving force behind myself and all the other serious bird photographers I admire.
Is it time to Move? - Taking the gamble
All it may take to improve your position is to simply take a few steps to the left or right or extend on tippy toes or crouch down. But making the move always carries a gamble as to whether the bird will allow you to change your position again.
It's kind of like at first, you and the bird have suddenly encountered each other by surprise and each is frozen to the spot wondering who will make the next move.
More often than not, the moment you make the first move, the bird will see you as a imminent threat and take off.
But just often enough, the bird does not fly away. It is these opportunities that make us willing to gamble against the odds, occasionally leading us to the chance for a different angle, or get even closer to the bird.
Is it time to Move? … How do I make the move?
1.When moving, try to to be fluid by not making any sudden, jerky, movements.
2.Try not to stare directly at the bird and try to make it look like you are totally disinterested in it.
3. When out in the open angle your body in such a way so that it creates an illusion. Make it look like you're walking past and intending to head away from the bird, when in fact you are actually sidestepping ever closer. Believe it or not it does work sometimes!
4. Another scenario mostly with coastal wading birds would be kneeling down to get to ground level with your subject. If you have been standing to take the safe shot try not to crouch down too quickly as that could be threatening behaviour and the bird might think you are a dog and fly off. Better still, get down on your tummy much further out than you might think necessary and crawl your way slowing towards the bird taking stops along the way. If the bird starts moving away you'll know that you are at the birds limit. However, if you stay still the bird may start to come closer once it feels safe again.
5. The most important skill of all is to keep holding the camera close to your face in the shooting position. Nothing scares a bird more than swinging the camera with a long lens up to your face with a quick jerky movement.
Is it time to move? … Improving our compositions
So why all this fuss and what are we looking for in our compositions?
1. A coloured background that better compliments the bird.
2. Often a less cluttered background.
3. An object or something that will help tell a story about the birds place of being.
Below are two examples to illustrate:
This image is one I took at my first opportunity when I knew I would have an acceptable image of a male stonechat. This is my safe image.
I worked on improving my chances of getting a better image of this bird and it's normally at this stage that things go wrong for me, but this time it was worth the gamble.
The male stonechat seemed quite content with my distance and once I got some keepers, I moved just a few paces away to my left where my background was much more commentary to him.
Sometimes it doesn't take much moving, you may just have to stand on your tiptoes or crouch down and every now and again the risk pays off.
I would have been happy with this first image if it were my only chance, but my quest for perfection (not that I ever achieve it) drives me to try for for a better one.
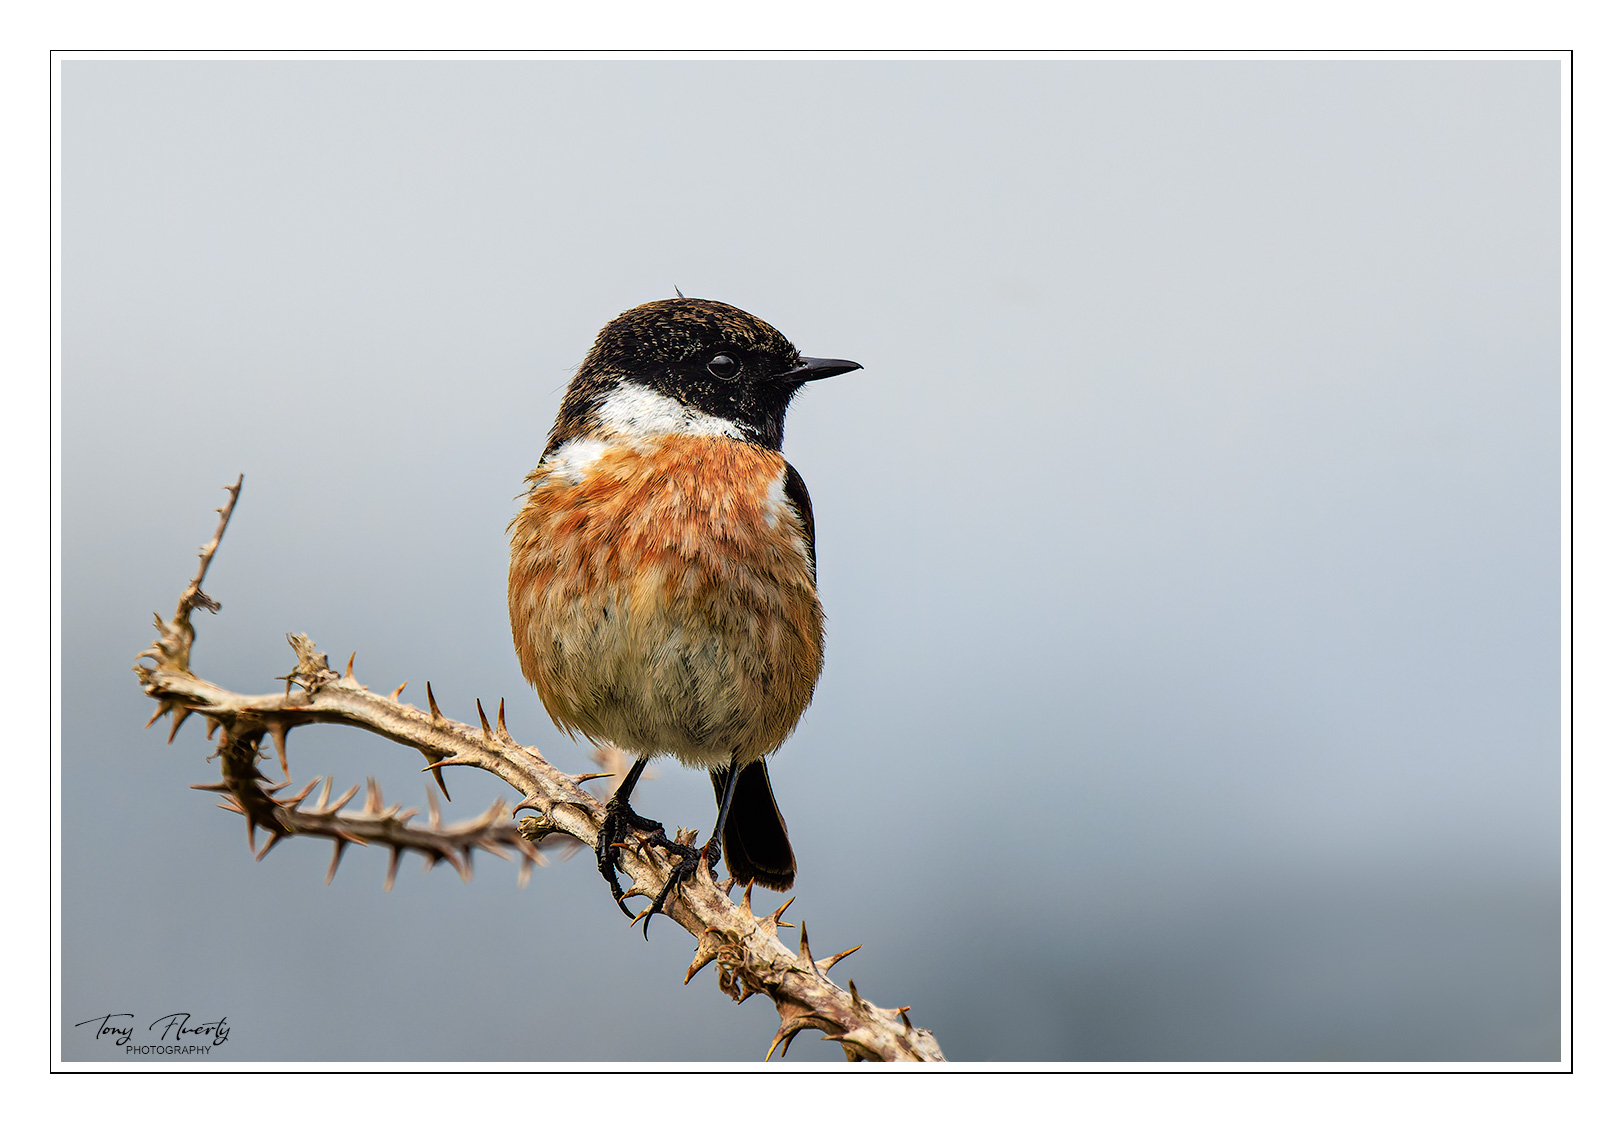 |
| This male Stonechat let me approach to a close distance for a few images so closeness wasn't an issue, but I found the sky a bit dominating and cold colour-wise. I could already see an opportunity to improve on what I already had if I shifted a metre or two to my left. We often have to be willing to take a chance with walk-up style of photography, we lose more often than not. but nevertheless I moved! |
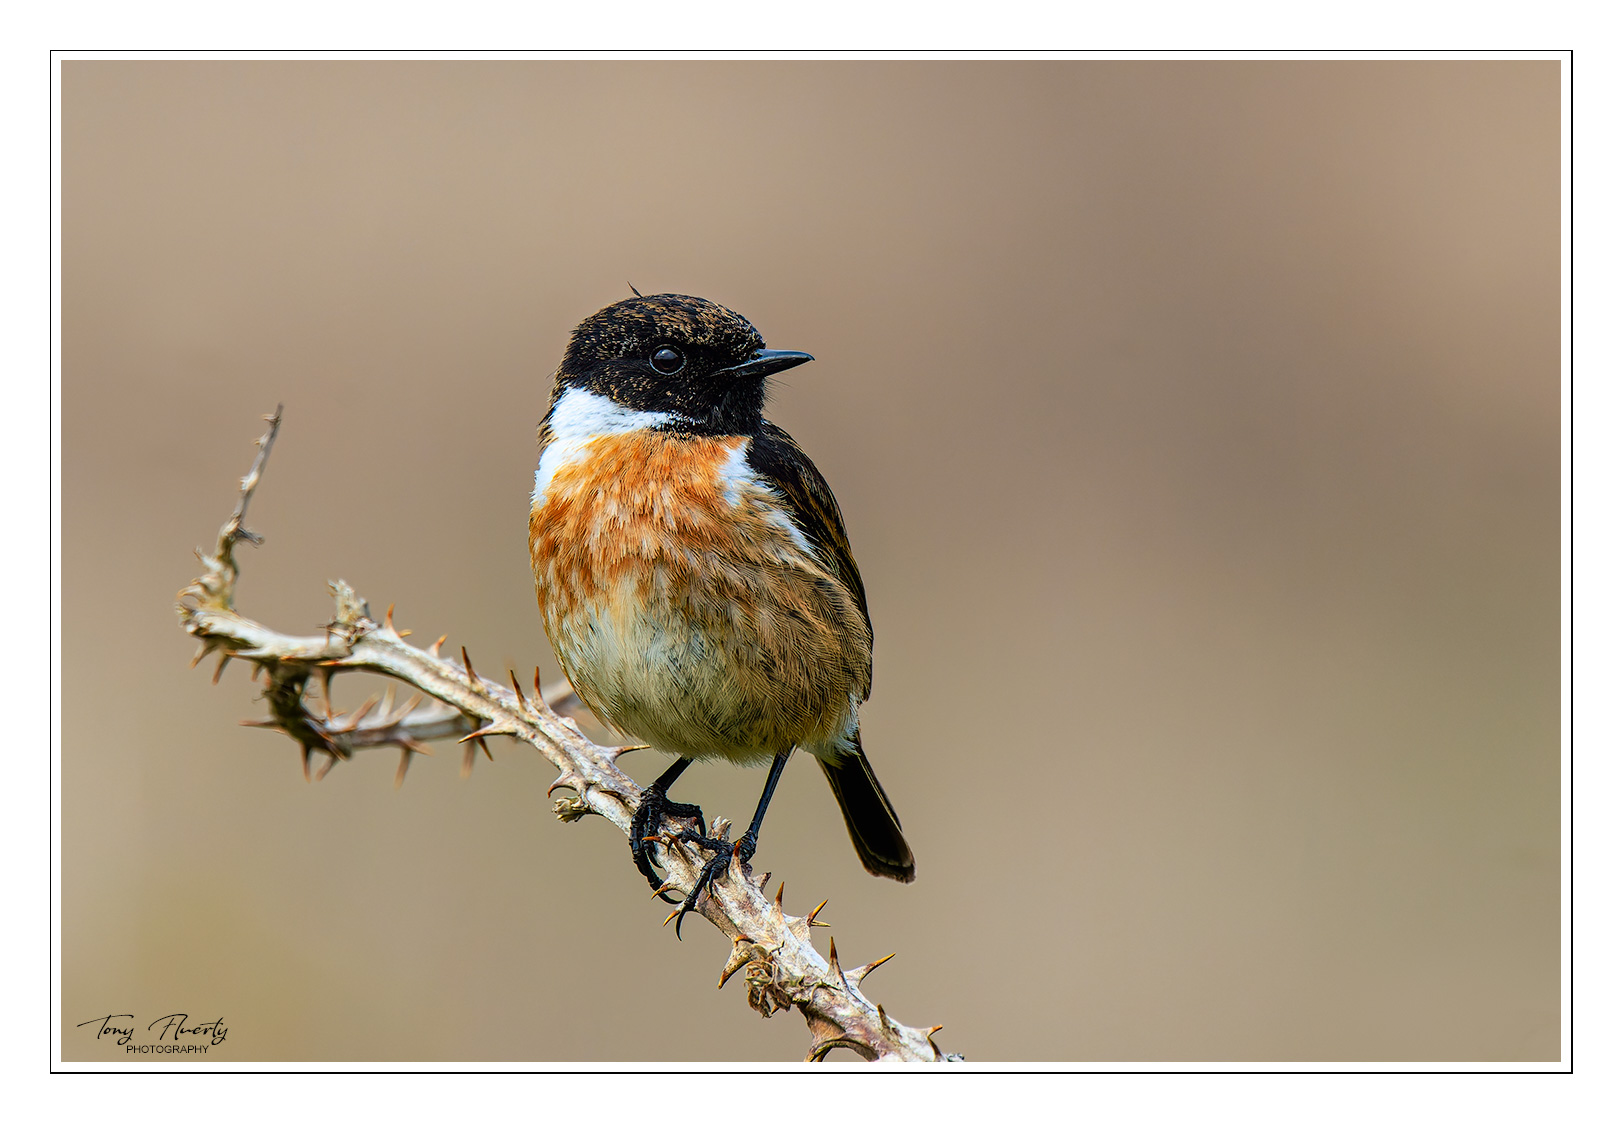 |
| It might be the same bramble cane, but with a very different background. So my preference is decidedly for this second image because of the complimentary colour of the background. Just moving back a few steps and a meter to the left made all the difference for me. |
We hope to return in a month or so to see if they have nested and raised some young. The bramble bush grows close to a fence that runs along a wee country road next to a row of houses. The birds are used to people walking along that road, so as long as we stay on our side of the fence we should be fine.
Comments
Post a Comment